“MYZR-SSD20X-CB096 Burning Manual”的版本间的差异
(创建页面,内容为“##**Use the network port network cable to burn** **1.Create a folder under windows to store the images that are about to be burned**<br> **2.Copy the image.tar.bz2...”) |
(没有差异)
|
2022年4月13日 (三) 11:23的最新版本
Use the network port network cable to burn
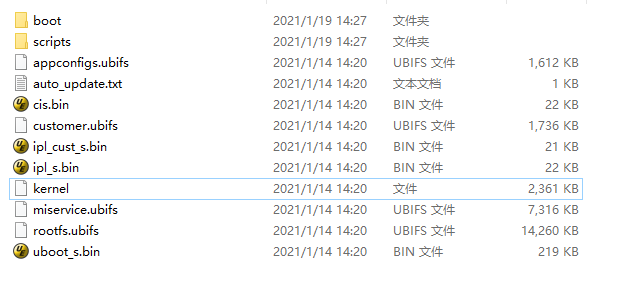
1.Create a folder under windows to store the images that are about to be burned
2.Copy the image.tar.bz2 in the release_image directory to Windows and extract it to the new folder
3.Delete or rename the kernel in the folder to kernel.bak, copy uImage.xz in the release_image directory to the folder, and rename it to kernel
4.Delete or rename uboot_s.bin in the folder to uboot_s.bin.bak, copy uboot_spinand.xz.img.bin in the release_image directory to the folder, and rename it to uboot_s.bin
5.Use a network cable to connect the network port P2 of the development board and the network port of the computer
6.Use the serial port to USB to connect the development board and the computer, open the serial port session of the terminal software, connect the power cord to the development board, and then power on
7.Configure the wired ip of windows, for example: 192.168.137.99
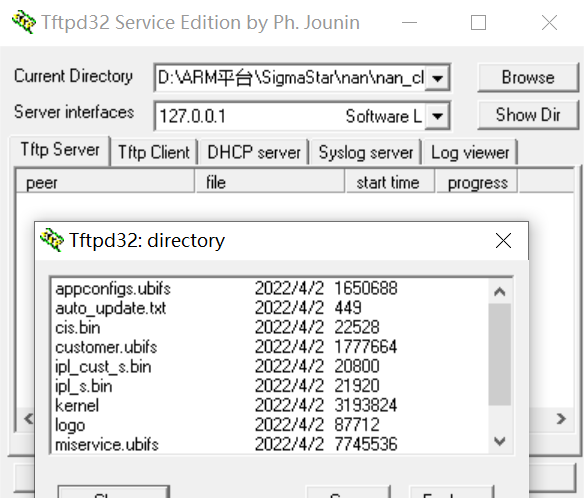
8.Open the tftp server, select the mirror folder directory for Current Directory, and select Server interfaces: 192.168.137.99
9.In the uboot startup phase of the session in the terminal software, hit the Enter key to enter the uboot command line
10.Configure uboot burning environment
# windows ip
setenv serverip 192.168.137.99
# uboot ip
setenv ipaddr 192.168.137.81
saveenv
# Burn image
estar
Wait until the kernel is turned on, that is, the burning is successful.

