MYZR-IMX6-EK200 Android-5.1.1 Test Manual
目录
[隐藏]Applicable scope
Test project
UART test
Test instruction
(1)Total 4 serial interfaces,defaulted Uart2 by test program,but you can choose other interface as per what is needed.
(2)Need to shorten send&receive pins of interface before test,pins shortened are different among different development boards,correspondence as below :
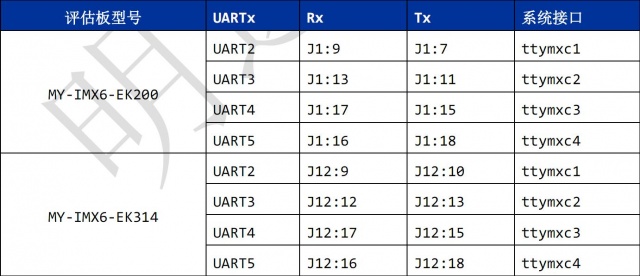
(3)Here choose defaulted configuration,i.e Uart2,shorten the according pins.
Test method
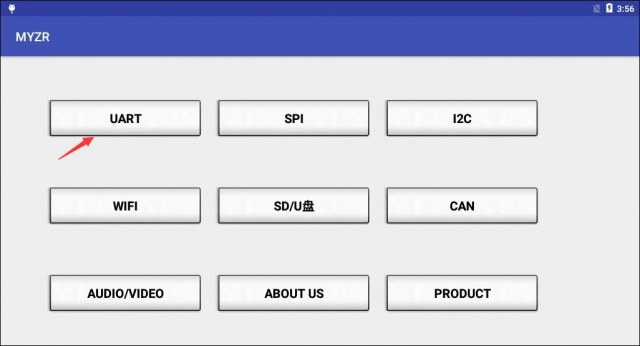
(1)Click“Uart”button,to boot test program.
(2)Click“OpenDev”to open device.
(3)Click“send”to send data.
If there is a successful receiving of data,texbox will be popuped on the right side,i.e.a success of test,as below:
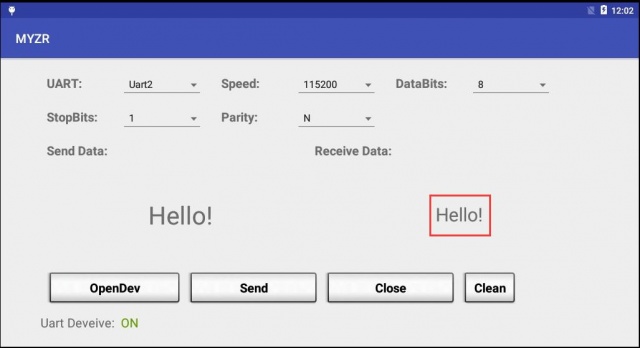
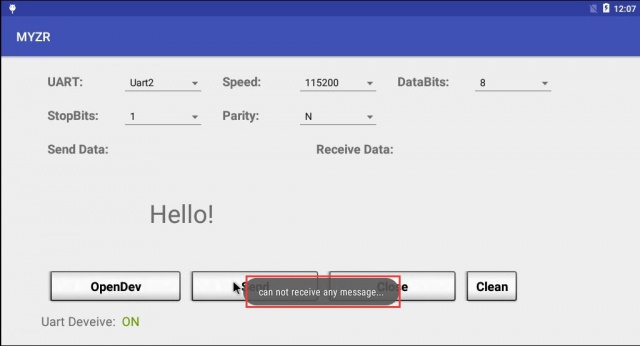
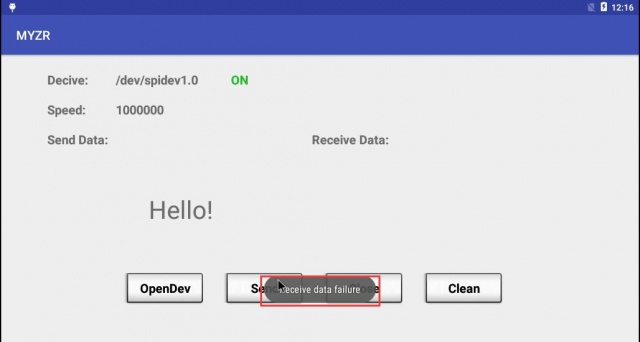
If not receiving of data,that means a failure of test, please check out whether pins were shortened, errors as below:
(5)When test is finished,click close,to exit the test of serial interface.
SPI test
Test instruction
(1)Need to shorten SPI pins before test,pins shortened are different among different development boards,correspondence as below:
(2)EK200 match up with test program by SPI2;EK314 match up with test program by SPI1;so need to shorten pins according to actual condition.
2.2.2 Test method
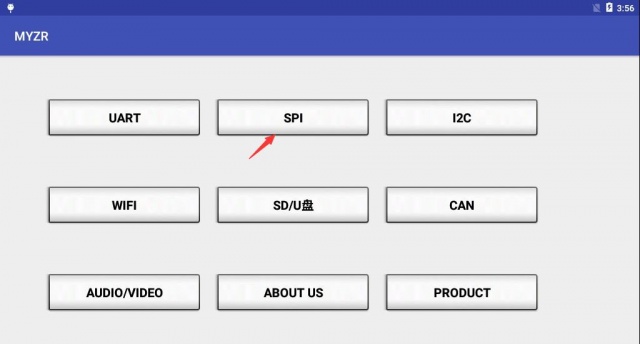
(1)Click“SPI”button,to boot test program.
(2)Click“OpenDev”to open device.
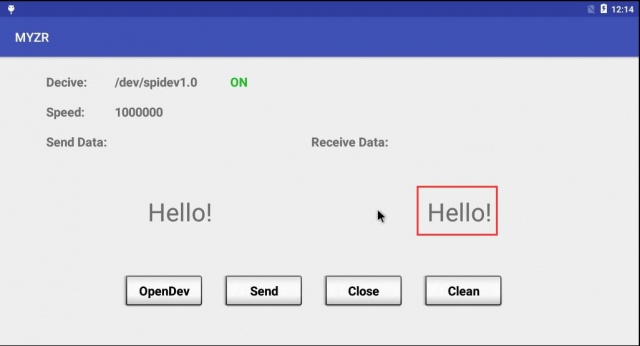
(3)Click“send”to send data。if there is a successful receiving of data,texbox will be popuped on the right side,i.e.a success of test,as below:
If not receiving of data,that means a failure of test, please check out whether pins were shortened, errors as below:
(4)When test is finished,click close,to exit the test program.
I2C test
Test instruction
There are total 3 IIC bus on evaluation board,each bus has its own device,test program only list the device for each bus,not for test.
Test method
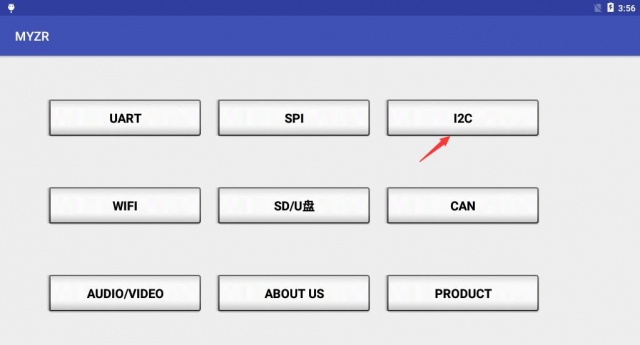
(1)Click“I2C”button,to boot test program.
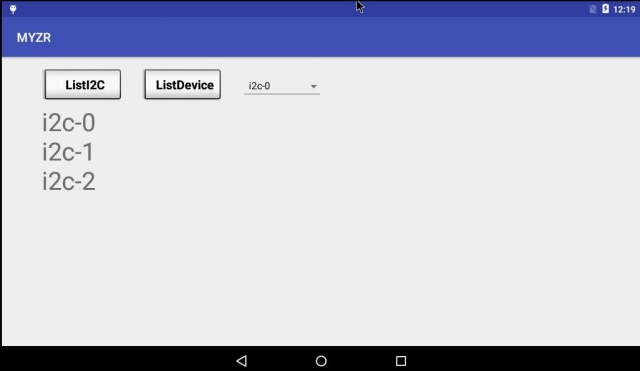
(2)Click“ListI2C”,to list all I2C bus,total 3 units,the following figure:
(3)Click“ListDevice”to list all devices on one of the bus,default is i2c-0,as below:
(4)Click drop-down manu on right,to get separate list of devices on the other two bus,example:
(5)Finish test,exit test.
CAN test
Test instruciton
Need to connect CAN pins before test,connect CAN_L of CAN1 with CAN_L of CAN2,connect CAN_H of CAN1 with CAN_H CAN2.
Test method
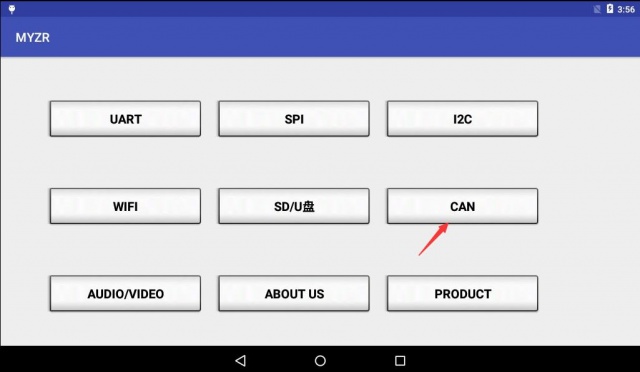
(1)Click“CAN”button,to boot test program
(2)Click“OpenDev”to open device,click“Send”to send data,if there is a successful receiving of data,texbox will be popuped on the right side,as below:
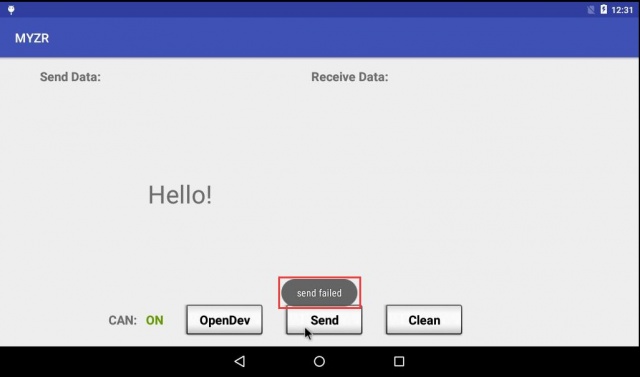
If not receiving of data,that means a failure of test, please check out whether CAN pins were shortened,errors as below:
(3)Test is over,exit CAN test.
USB&SD test
Test instruction
(1)Check out whether USB and SD read & write is normal or not.
Test method
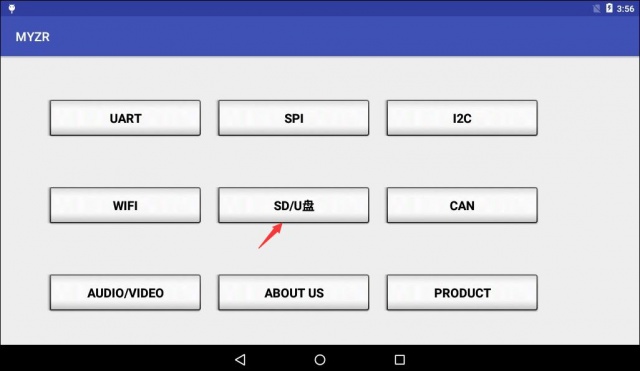
(1)Click“SD/U disk”button,to boot test program.
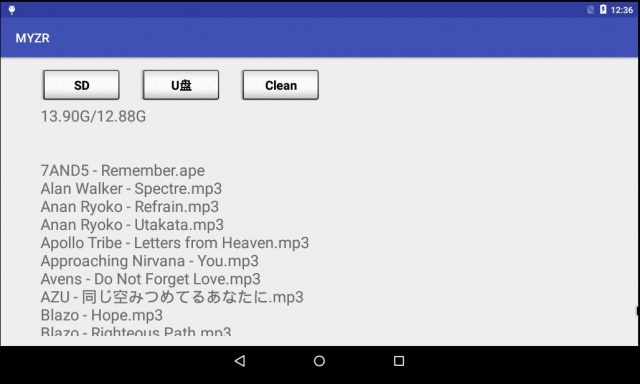
(2)Insert U disk or SD card,click“SD”or“U disk”button to read out the content of SD card or U disk.
(3)Test is over,exit test program
WIFI& lan port test
Test instruction
Check out function of WIFI and lan port.
WIFI test method
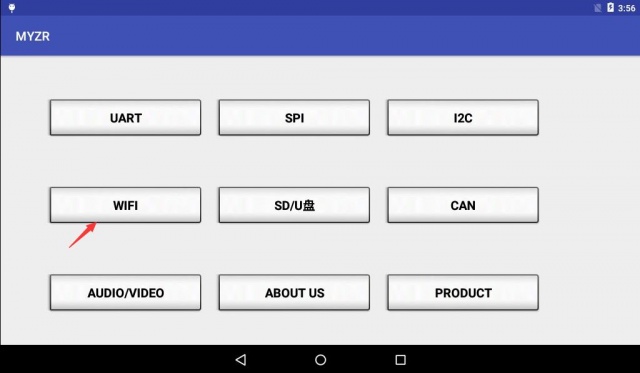
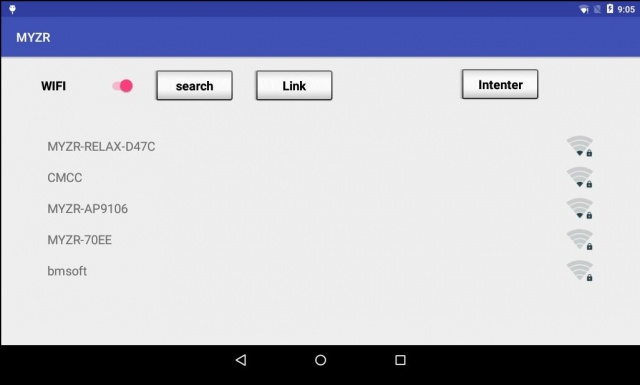
(1)Click“WIFI button”,to boot test program.
(2)Click“wifi”switch,after open wifi then click“search”to search wifi.
(3)Click Wifi which will be linked,enter password for the link.
(4)If a successful link,then click“Link”to link with baidu.
(5)If failure of link,please check out whether network is working.
Lan port test method
(1)Connect lan cable with lan port
(2)Click“Intent”button to link to baidu
Multi media test
Test instruction
(1)Test functions of audio and vedio.
Test method
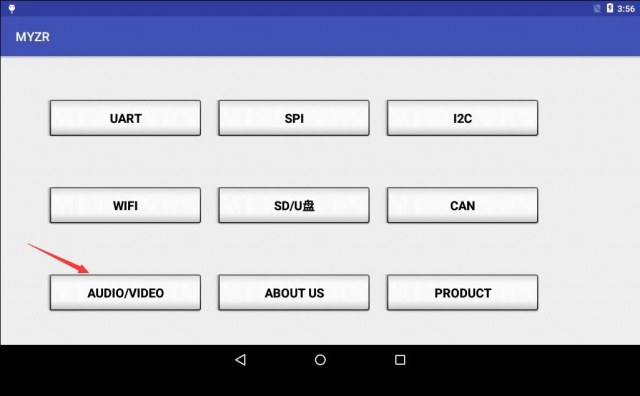
(1)Click“Audio/video”button,to boot test program.
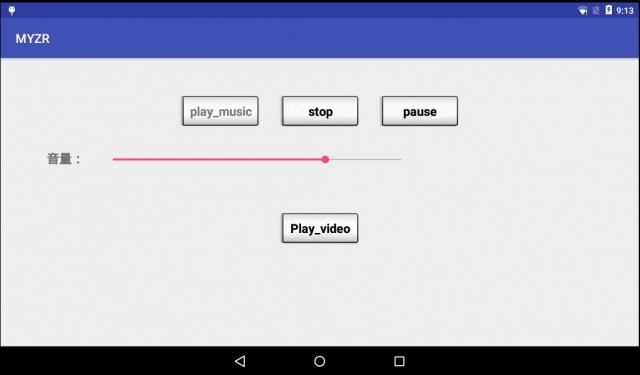
(2)Wear earphone,click“Play_music”,can hear a piece of music.
(3)Click“Play_video”,to play a piece of vedio.
(4)Test is over,exit test program.
GPIO test
Test instruction
(1)Test functions of GPIO.
Test method
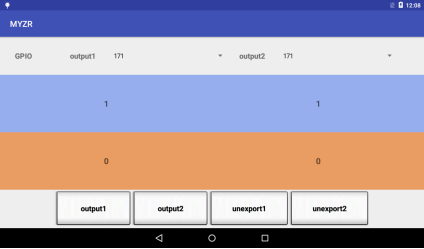
(1)Click and select the GPIO port to test in the output1 or output2 drop-down box.
(2)Click the button named“output1“ to control the level of the left port, and click the button named "output2" can control the level of the right port.
(3)Click the "1" in the left side can make "output1" be high level, click the 0 in the left side can make "output1" be low level. You also can click on the right side of the figure to control the level of "output2" as well.
Product instroduction
Product photo
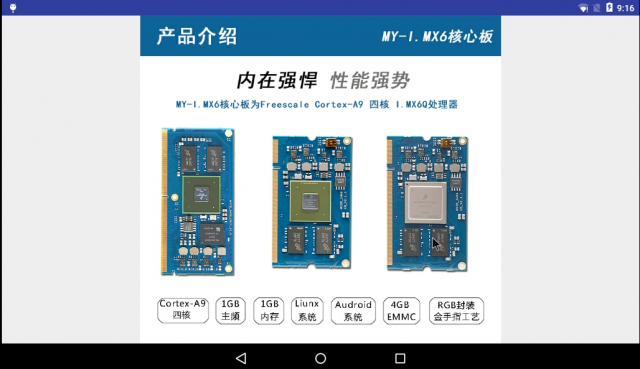
(1)Click“Product”button,you can see the instruduction and photo of our products,left or right sliding screen for more information.

